24Hours Tel
0086-139 8951 3573
Free Inqiry
E-mail:[email protected]
24Hours Tel
0086-139 8951 3573
Free Inqiry
E-mail:[email protected]
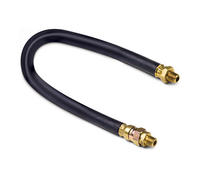
In the process of installing the sleeve connector, how to install it correctly is very important. Below we will make the following related instructions on the installation points of the sleeve connector.
1. Saw the vertical axis of the pipe, and the allowable angular deviation of the pipe end face from the axis is 1/2 degree (with a square ruler). The inner and outer surfaces of the tube end are lightly deburred and cleaned.
2. Apply a little oil to the threaded part of the joint body. Apply a little oil (especially 20S or more) to the contact surface of the ferrule and the contact surface of the ferrule and the compression nut.
3. Push the compression nut and the ferrule onto the tube and press the tube into the pre-assembled joint until the edge is positioned. Tighten the nut until the ferrule catches the frpp tube and the hand feels that the nut has been initially tightened.
4. On this basis, use a wrench to tighten 1.25 turns to complete the pre-installation.
5. Check the condition of the ferrule cut into the steel pipe. It can be seen that the convex sealing line is obvious, and the ferrule can be rotated at a certain angle, but cannot be axially displaced.
6. Final installation, then screw 0.5 times, the installation is complete.
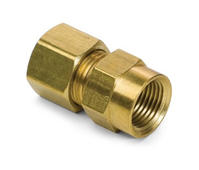
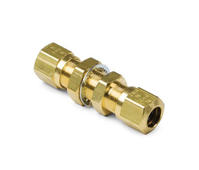
For sleeve connector electric ball valve tubes that need to be cleaned with an acidic solution, they should be cleaned with an acidic solution. According to the length required when the actual sleeve connector is used, use a sawing machine or a professional pipe cutting machine to cut the pipe. It is not allowed to use the melting section or the grinding wheel to cut off the burrs and metal debris on the inner and outer circumferences of the pipe end. Stain, etc., remove the rust inhibitors and stains of the pipe joints in the form of ferrules, and ensure the roundness of the stainless steel tube road.
Put the nut and the ferrule into the tube one by one, and the cutting edge at the front end of the ferrule should be at least 3 mm from the pipe mouth, and then the taper hole inside the pipe spigot is not inserted until it can be inserted. Slowly tighten the ferrule nut while rotating the rotor until the tube is not moving, tightening the nut 2/3 to 4/3 turn. The disassembly view card sleeve has been inserted into the tube, and the position is not accurate. The ferrule is not allowed to have an axial direction shift and can be rotated slightly. Check the requirements and re-turn the tightening nut.
Add:Xingzhong Road DianKou Town Zhuji City Zhejiang Province China
Mob: 0086-139 8951 3573
Tel: 0086-575-87560582
Fax: 0086-575-87560582
E-mail:[email protected]

 英语
英语 西班牙语
西班牙语